Purpose
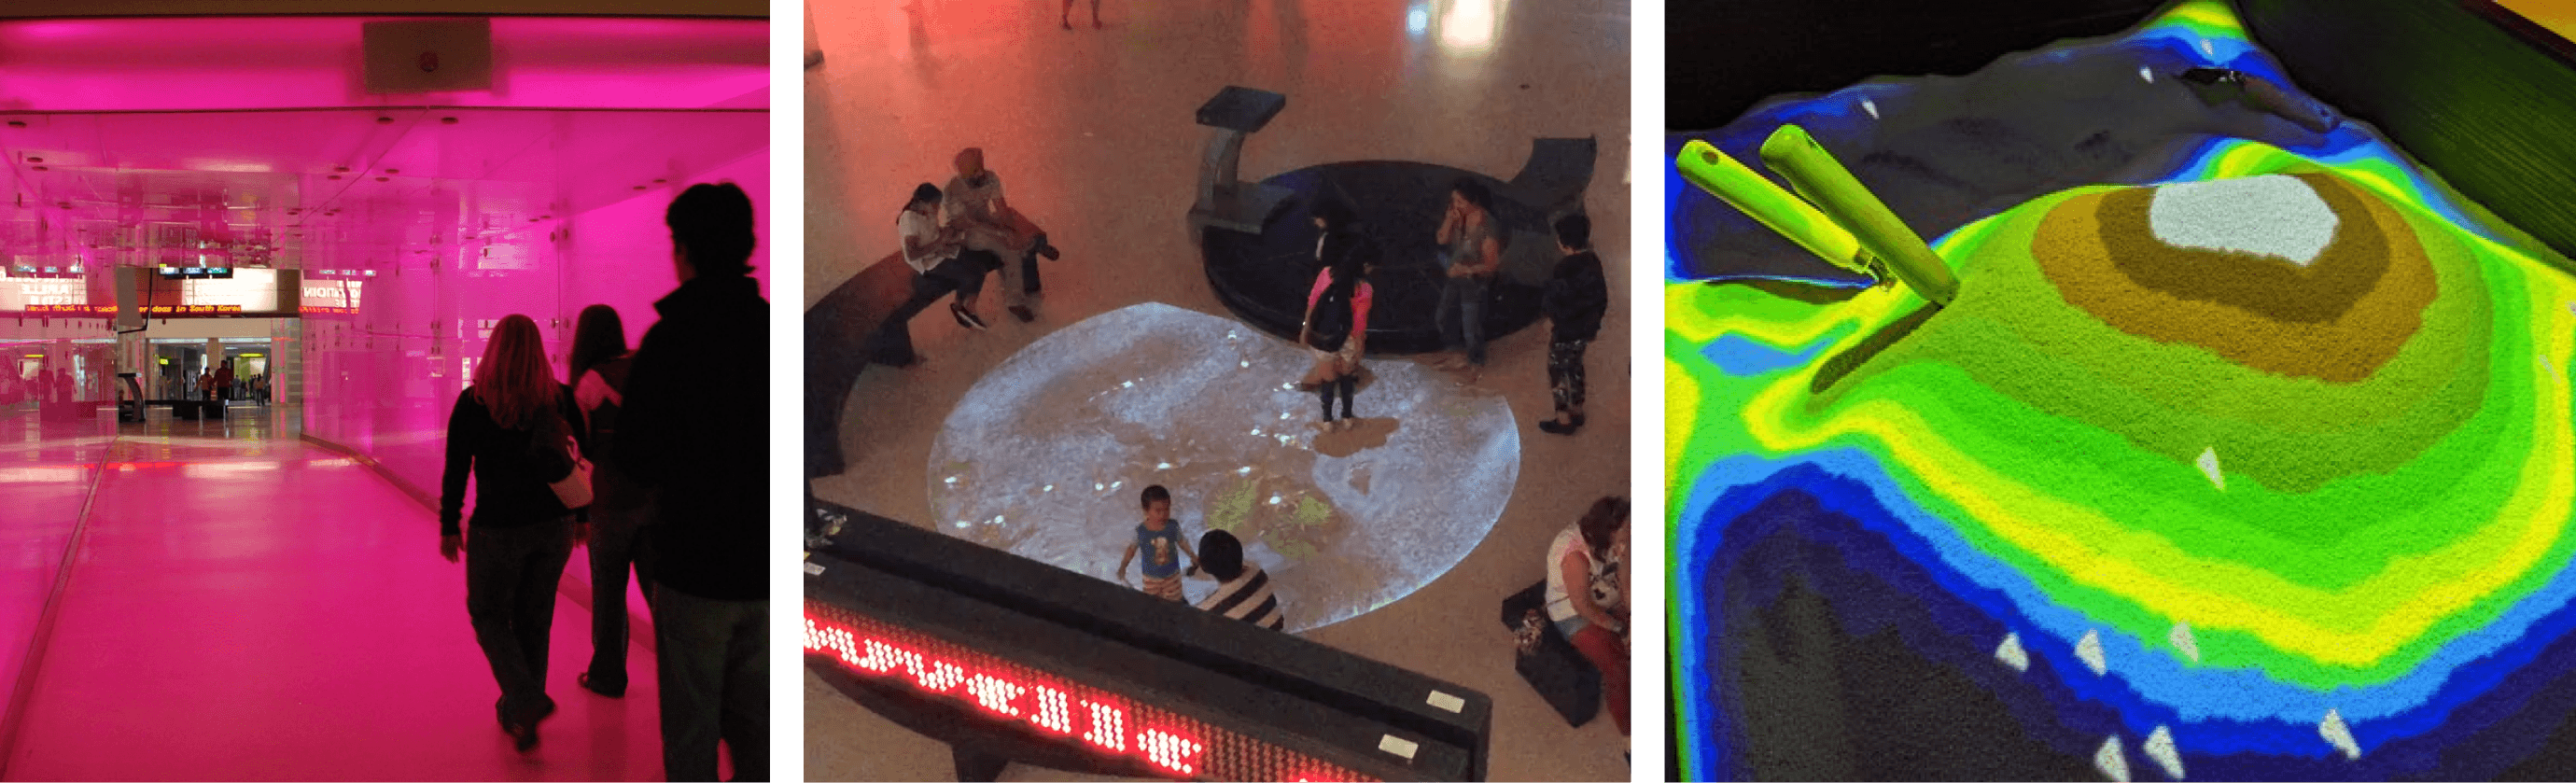
Projection mapping captures attention using colours, patterns, and animations, transforming regular everyday spaces into something more memorable. It lets students re-experience spaces around the campus.
The projection mapping installation does not demand attention or commitment, it is placed in a common walk-through area. This means it can either be ignored or interacted with. No matter how much time is spent, the takeaway of enhancing Sheridan is the same.
You can dig deep into the project or you can just walk right through.
inspiration
Location testing
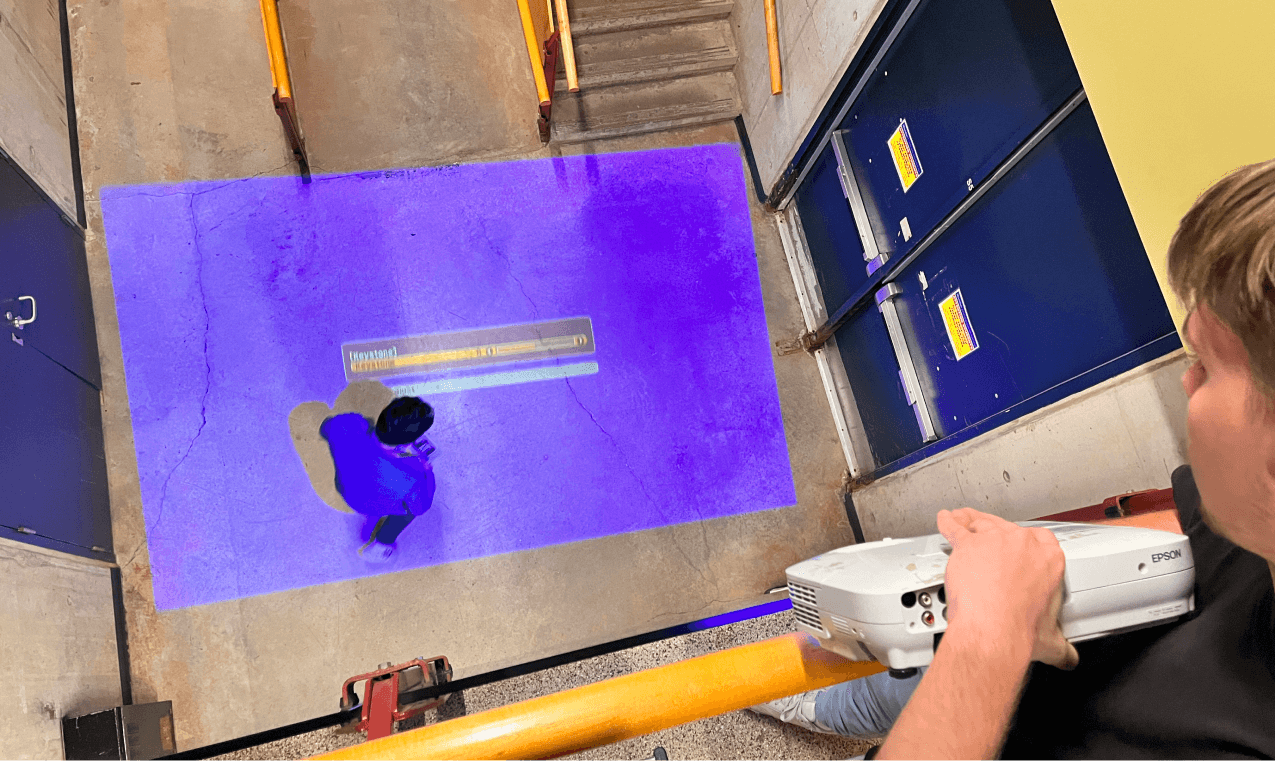
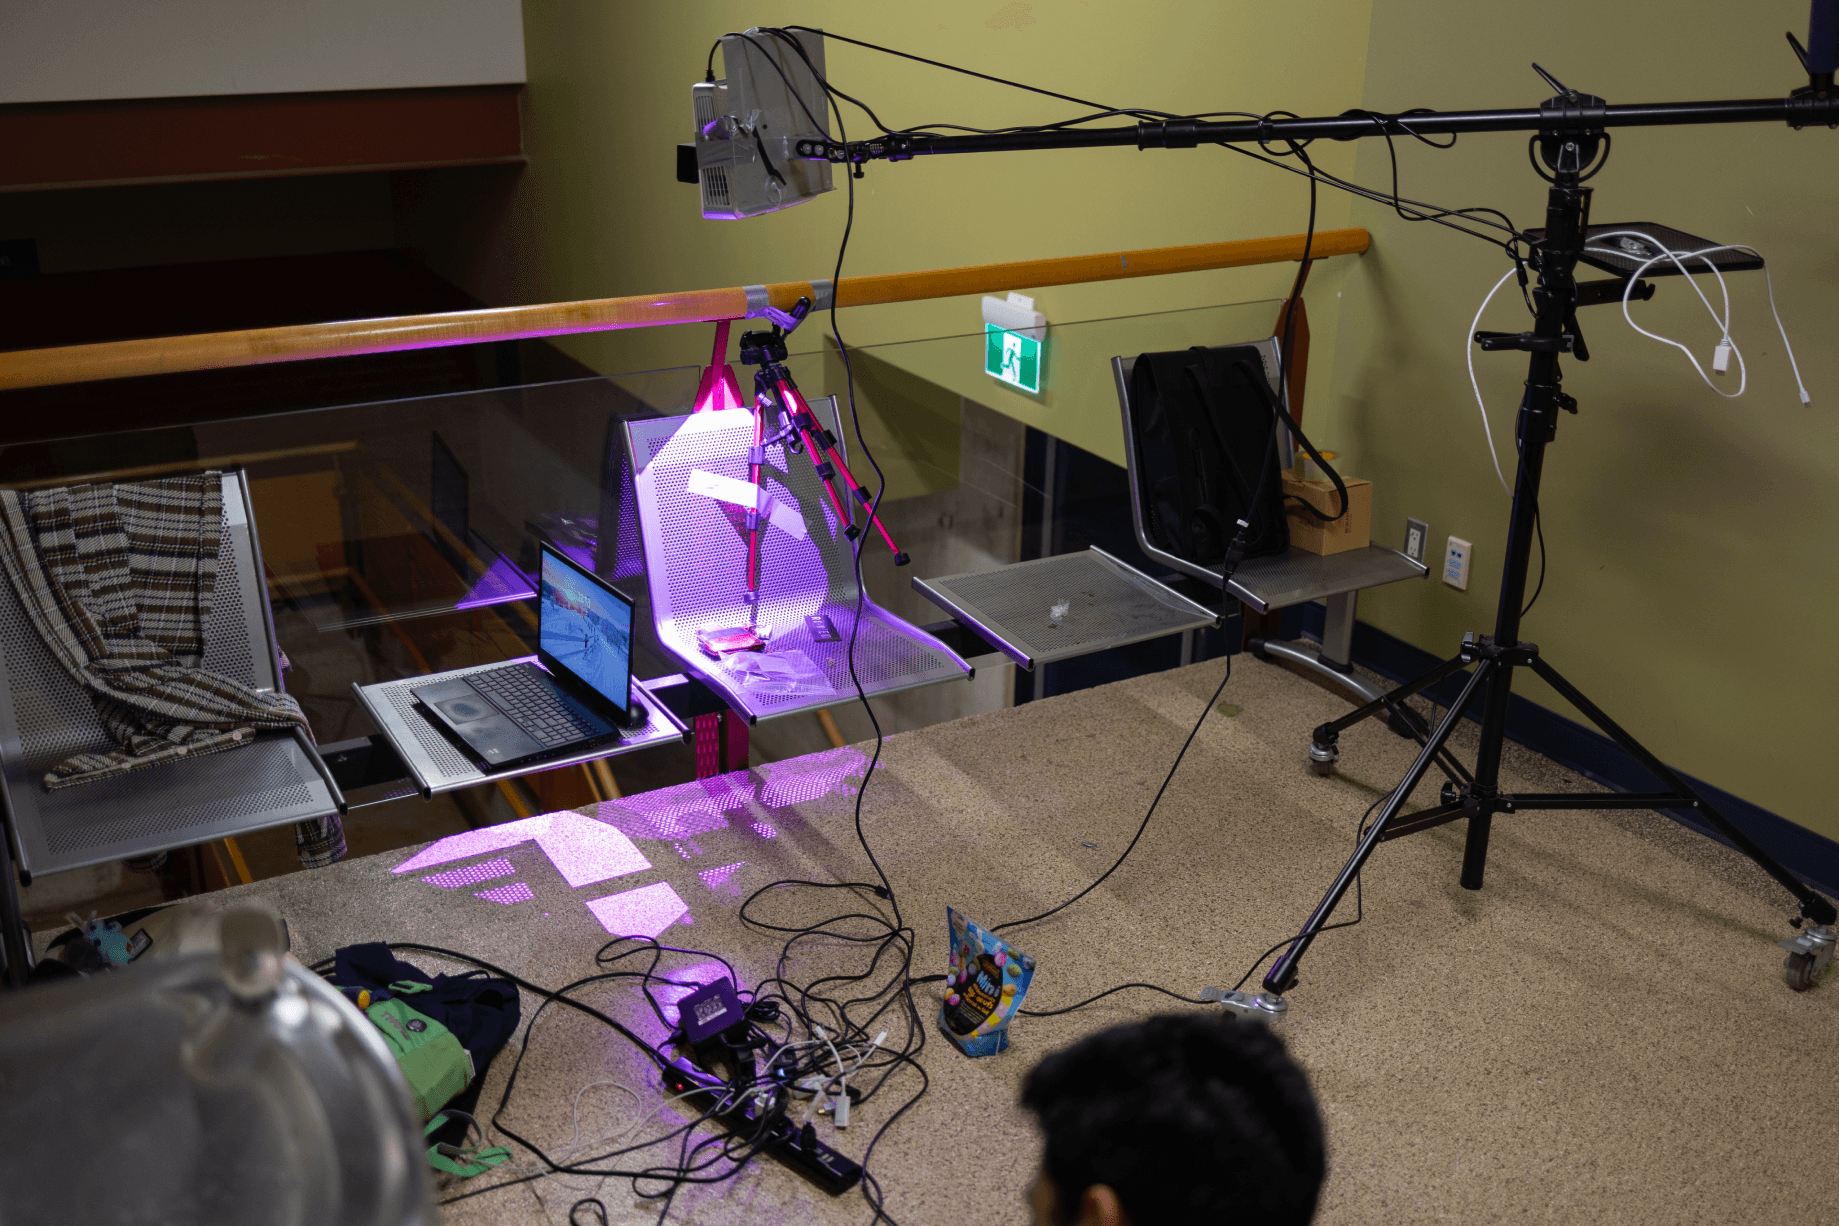
The first steps we took to create this projection mapping were all research-based. This started with projector and location testing and research. This helped us understand the tools we needed and would eliminate possible things that could go wrong. We brought the projector to different locations to find an optimal area and ended up at a balcony overlooking the main floor.
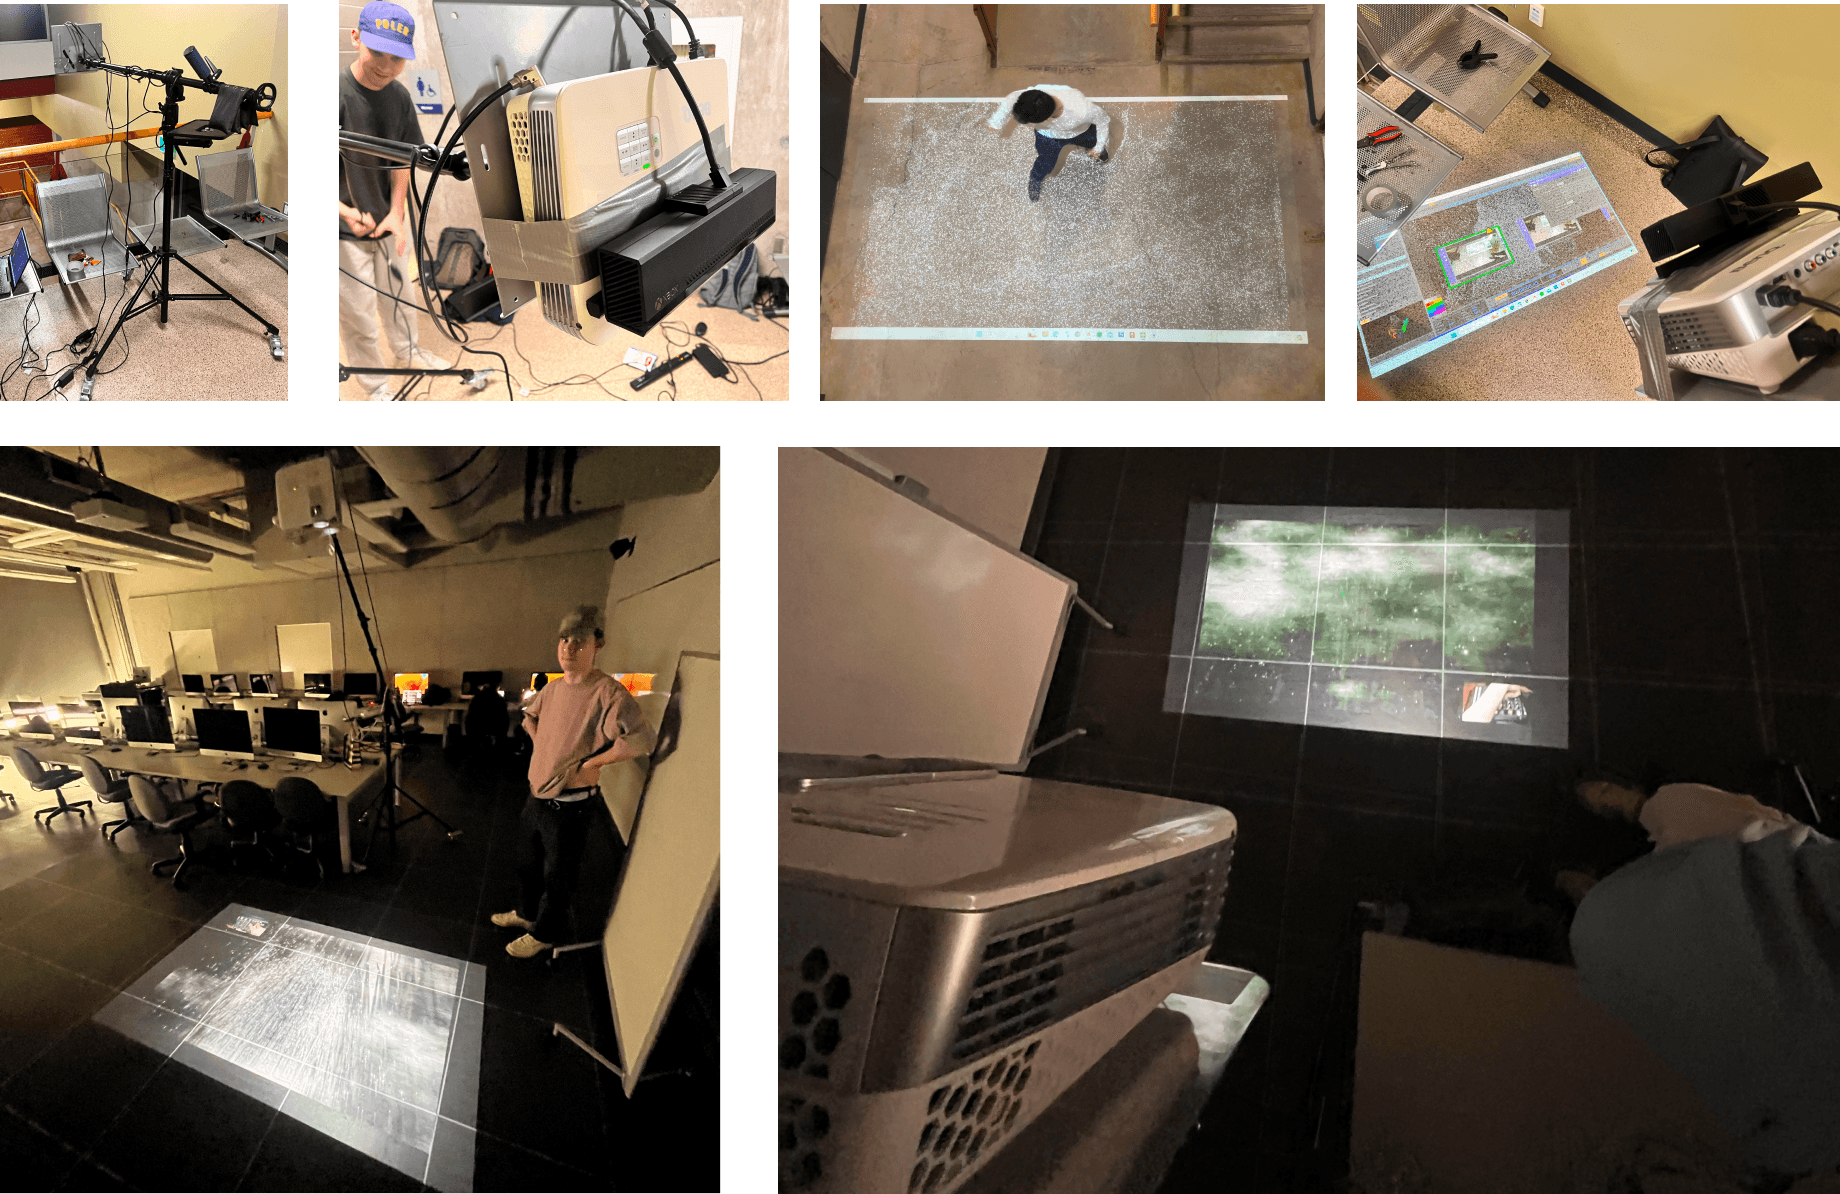
Touch Designer
Learning touch designer was also part of this project, it came to be something enjoyable to use by the end. While starting, tutorials were key to learning the program and knowing how to use each tool and aspect of the complex software. Building off my first particle projection, I wanted to create an aurora borealis look that was still reactive to movement. This style was chosen to correlate to the AR component. Through trial and error with the skills I had, I was able to create the desired aurora borealis look by the end.

Purpose
The AR scene worked alongside the projection mapping to create the installation. It works to extend the scene that people are seeing a glimpse of in the projection mapping. A large consideration was with the device that would be used. We wanted to have a low commitment and relatively simple way to experience the scene. This lead us to using a Google Cardboard type headsets that accept a smart phone. The scene would be uploaded to YouTube as a 360° video allowing it to be viewed on a range of devices. This prevents the requirement of an expensive headset running the scene live to be on site for the installation.

Why UNREAL ENGINE?
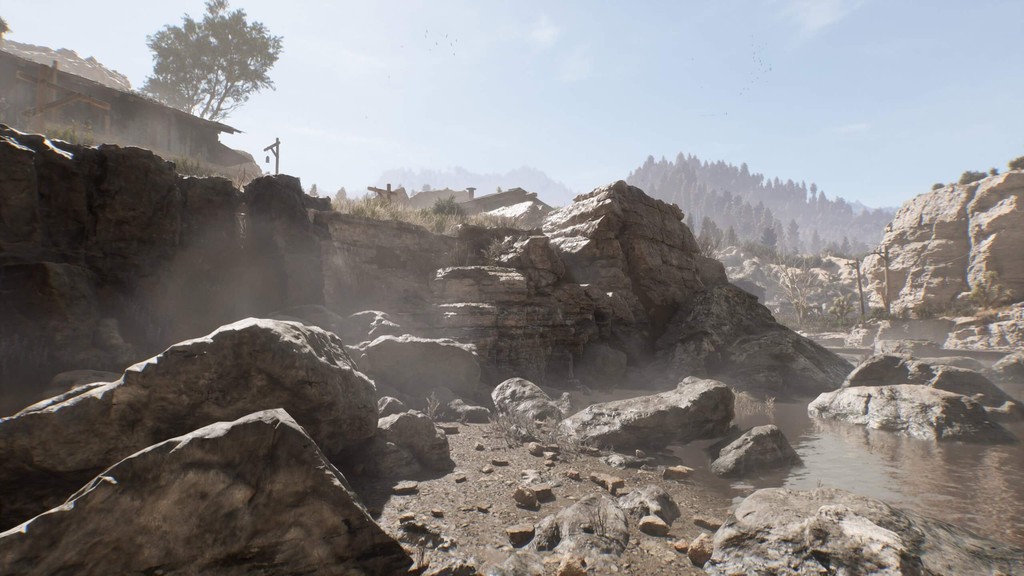
Unreal Engine 5 is new compared to other options like Unity. It had a lot of new media surrounding it displaying its potential to make extremely high fidelity scenes without the cost of performance and requirement of high end equipment. This is all possible because of Nanite. Exciting new technologies like this made Unreal Engine an exciting platform to explore to make a visually stunning scene.
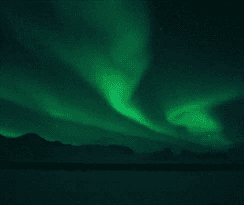
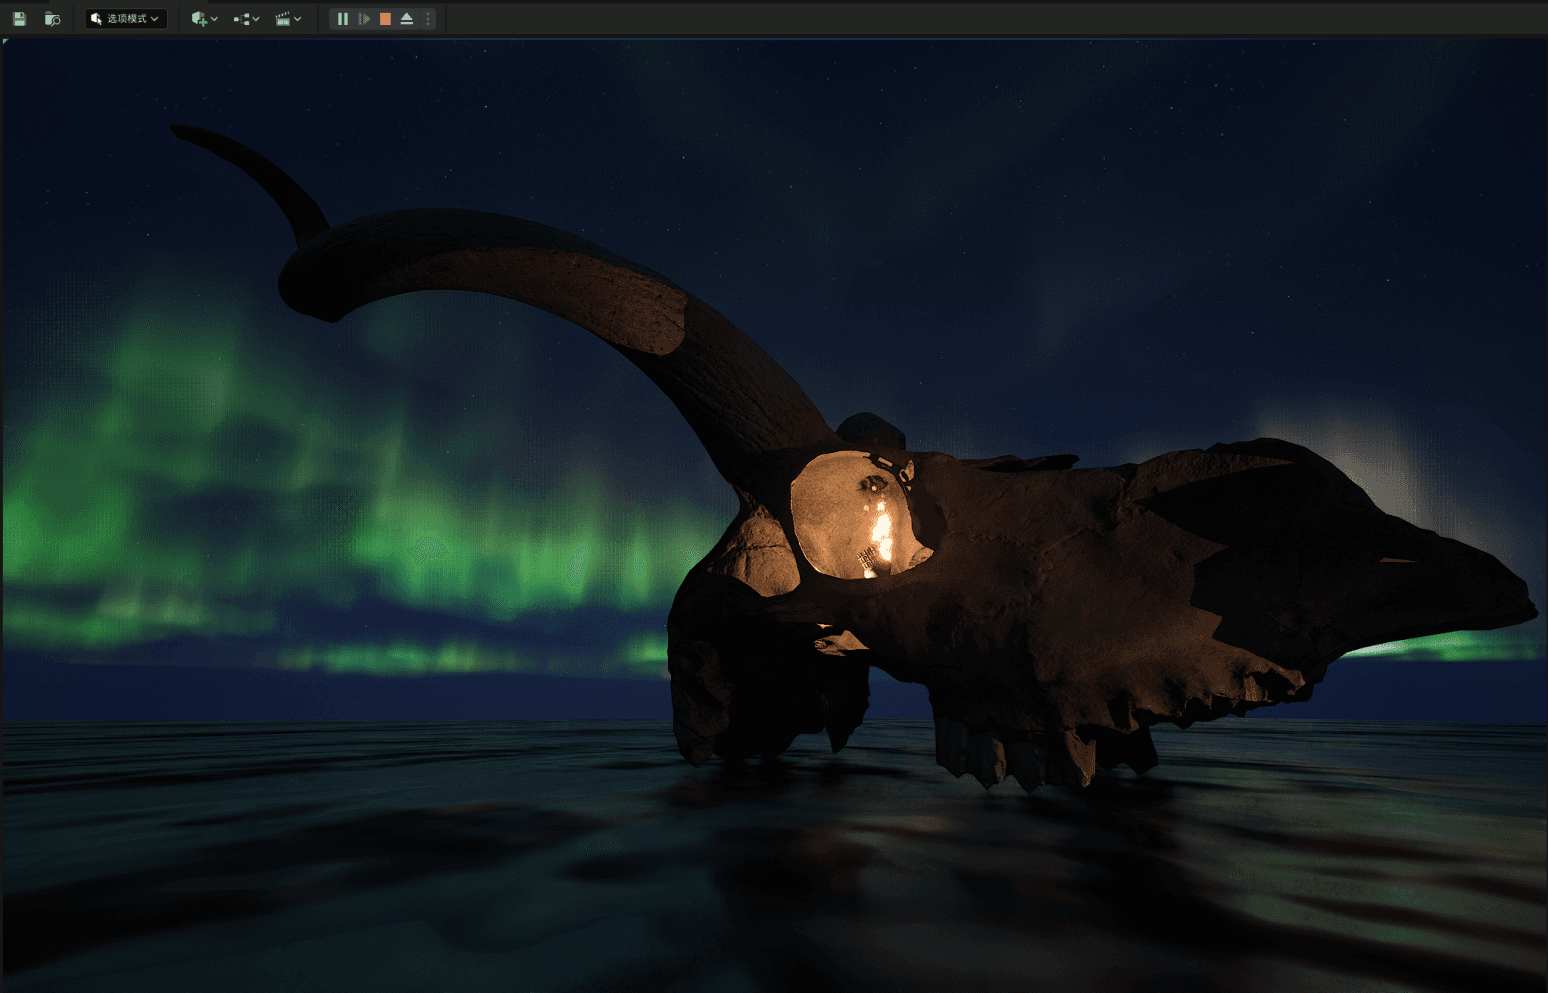
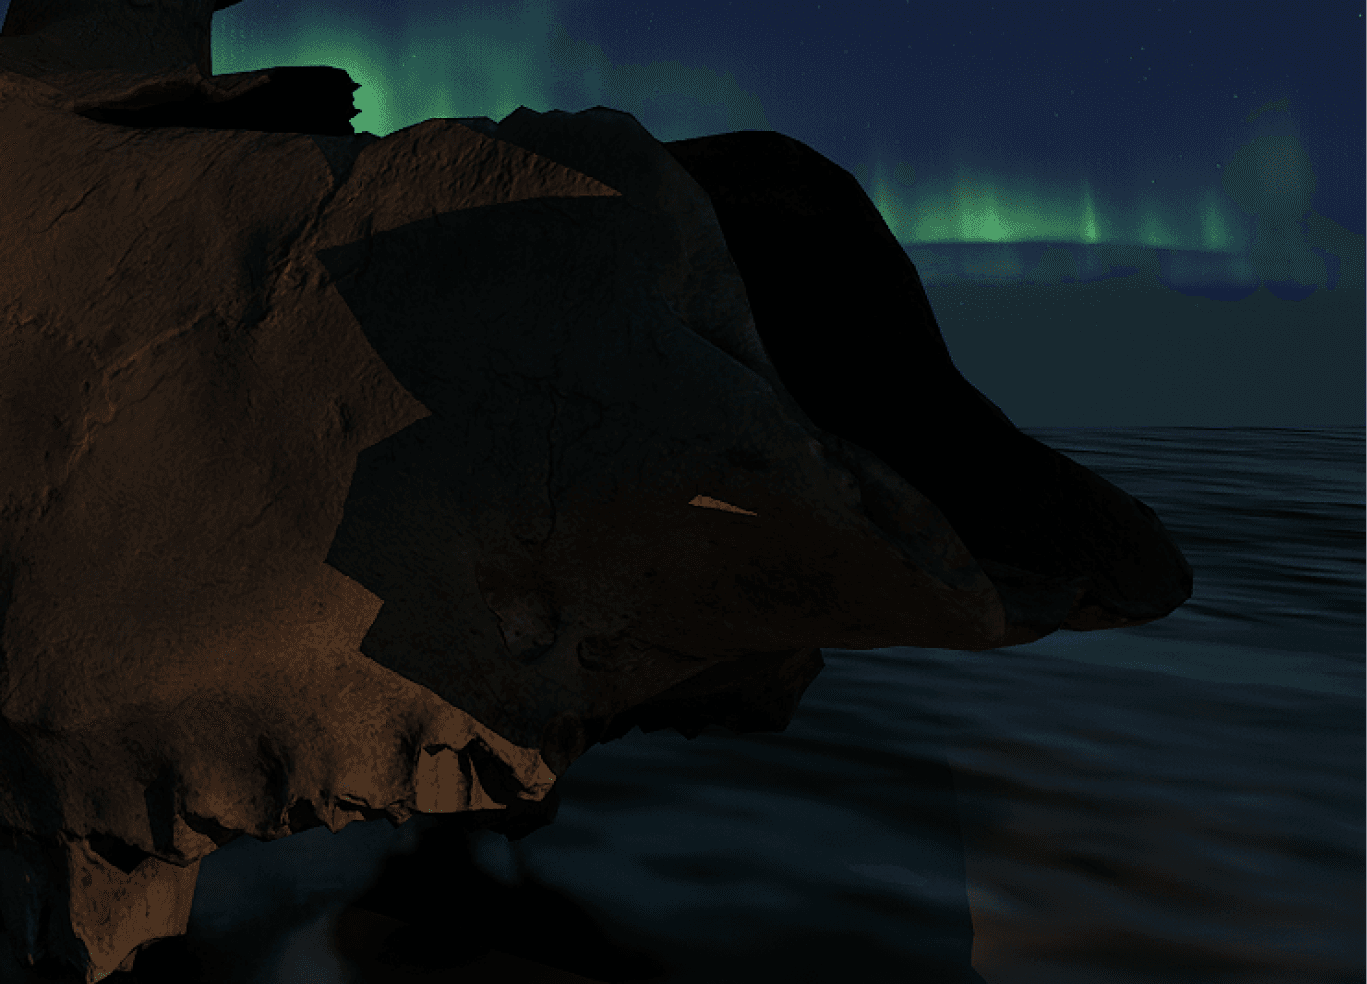
AURORA SCENE

ULTRA Dynamic SkY
This addition to Unreal Engine 5 allowed for the creation of photoreal sky simulations of clouds, rain, fog, moon, stars, and so much more. This addition was essential in making a super atmospheric scene that would pull the viewer in. The customization options were vast, allowing for specific alteration of the aurora affect. This was the key player in making a scene super visually appealing and engaging.

Terrain, WATER, weather, and Snow construction
OUTSOURCING RENDERING
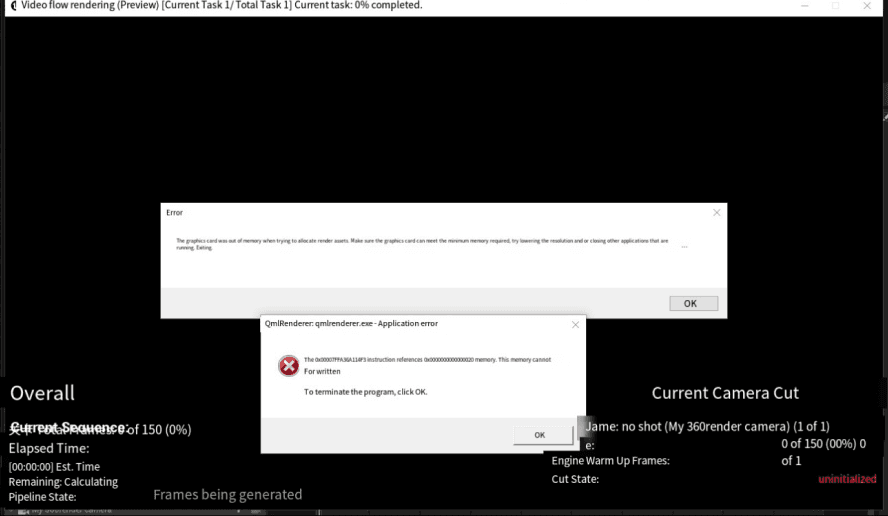
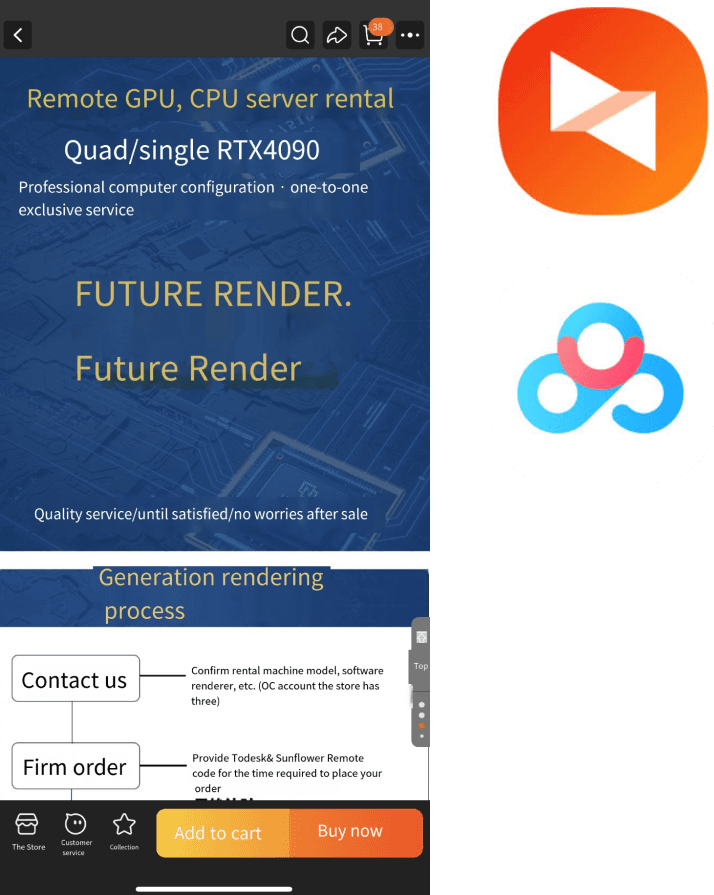
Rendering the scene as an 8K video was proving to be a challenge. On a local machine, the program would crash after rendering only a single frame. The solution to this was outsourcing difficult rendering to machines that can handle it. This was done by renting a computer using Taobao that could handle the rendering process. This allowed for an 8K 360 video to be created with ease.